


































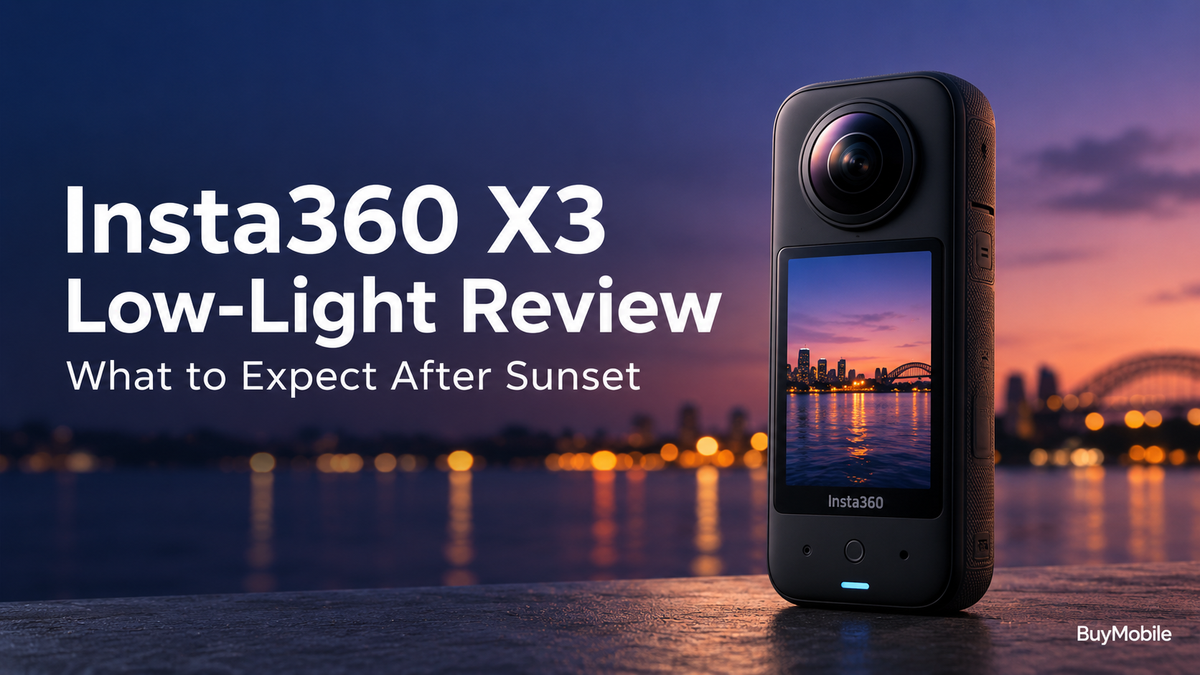
The Insta360 X3 is appealing because it captures everything around you and lets you choose your framing afterwards. That freedom is useful on a bright hiking trail or during a sunny motorcycle ride. After sunset, however, the camera faces a harder challenge.You can still capture interesting evening footage, but the available light and movement become much more important. This review draws on Insta360’s specifications and support guidance rather than hands-on testing. Here is what to expect, where the X3 makes sense and how to give your night footage a better chance.
Can the X3 produce useful footage after sunset?
Yes, particularly when the scene still contains useful illumination. A well-lit shopping street, outdoor restaurant or waterfront with bright buildings gives the camera more to work with than an unlit campsite.The X3 has two 1/2-inch sensors and supports 5.7K 360 recording. Those specifications provide context, but resolution alone cannot guarantee clear night footage. Low-light exposure, subject movement and your final framing all affect the result.Think of the X3 as a camera for capturing the atmosphere of an evening rather than assuming it will reveal detail in near darkness. Choose scenes with an identifiable subject and existing light. A short clip outside a bright café may be more successful than a lengthy recording along a dark road.
Why does night footage become grainy?
When light is limited, the camera must adjust exposure to make the scene visible. Raising ISO can brighten the image, but it also introduces noise. Insta360 identifies increased ISO as a reason night recordings may look grainy.You may notice this most in dark skies, shaded walls and other areas with little detail. A brighter-looking image is therefore not necessarily a cleaner one.Avoid treating darkness as something you must eliminate completely. Night scenes naturally contain shadows. Trying to make every corner visible can leave the footage looking noisier and less convincing than an image that preserves the evening mood.
Does FlowState stabilisation solve low-light blur?
FlowState helps stabilise the view, but stabilisation and motion blur are different problems. A clip can have a steady-looking horizon while individual frames contain blurred edges.Insta360 explains that slower shutter speeds in low light can cause trailing when the camera shakes or the subject moves quickly. Stabilisation cannot fully restore detail that was blurred during exposure.This matters when walking, cycling or filming moving people after dark. Keep movements deliberate, avoid swinging the selfie stick and slow down when practical. A steadier camera gives exposure and stabilisation a better starting point.If your main goal is fast action at night, examine relevant sample footage before buying. Daytime stabilisation demonstrations will not tell you everything.
Which settings should you try?
Start with ordinary Video mode and automatic exposure, then record a brief sample. Review an exported clip rather than judging quality entirely from the camera’s preview.The X3 lets you adjust shutter speed, ISO, white balance and other settings. Manual controls can help, but there is no universal night preset that suits a bright city square and a dim beach equally well.A faster shutter can reduce motion blur but leaves less time to gather light. Increasing ISO can compensate, with a potential noise penalty. Make small changes and compare results.For most casual users, improving the scene’s lighting and keeping the camera steady will be more practical than constantly changing exposure settings.
Should you use Active HDR at night?
Do not assume HDR is automatically the best option after sunset. Insta360 describes the X3’s Active HDR mode as useful for preserving highlights and shadows in bright or backlit environments. That purpose differs from making a dark scene clean.Begin with standard Video mode for night filming. If you experiment with another mode, compare exported results from the same scene and look closely at moving subjects.Bright signs and dark surroundings can be challenging. Prioritise the subject you want viewers to notice rather than expecting every part of the scene to appear equally clear.
Does reframing affect the final result?
The X3’s 5.7K recording covers the full 360-degree scene. A conventional video exported from that recording uses only part of the captured view. It should not be mistaken for a 5.7K flat video of whichever subject you select.Tight reframing can make softness and noise easier to notice. Keep your subject reasonably close and avoid relying on aggressive cropping to reveal distant details.This makes planning useful even with a “shoot first, frame later” camera. Position yourself where the subject is visible, well lit and large enough in the scene.
How can you improve the footage afterwards?
Start by cleaning the lenses before filming. Fingerprints and smears can turn bright lamps into distracting flare, a problem Insta360 specifically highlights in its shooting guidance.During editing, use restrained adjustments. Brightening shadows excessively may reveal more noise, while strong sharpening can make grain more obvious. Noise reduction can help, but excessive processing may soften textures.Check the exported video on the screen where people will watch it. A small social clip and a full-screen television presentation place different demands on the same footage.
Is the X3 worth using after dark?
The X3 is worth using for illuminated evening scenes, deliberate movements and creative perspectives. Expect compromises when light becomes scarce, especially with fast action or tightly cropped footage.If night recording is your main priority, compare alternatives using genuine low-light samples. If you already own an X3, use available light thoughtfully and test short clips first. Capturing an enjoyable evening story matters more than making darkness look like daylight.