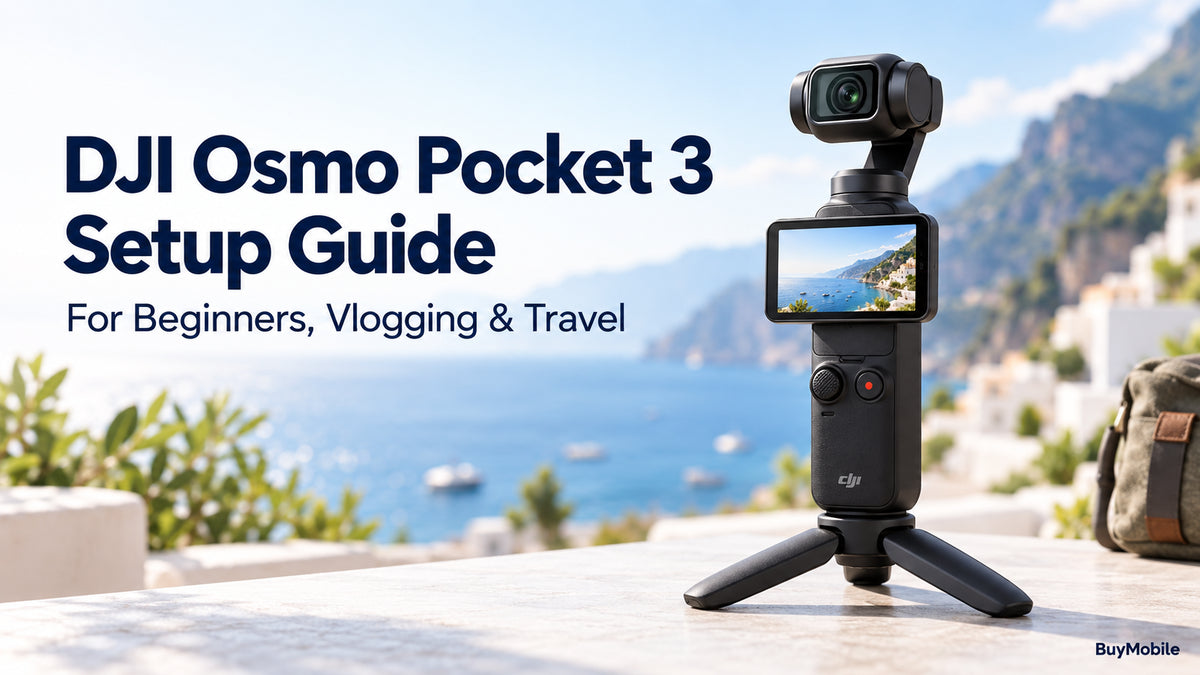
The DJI Osmo Pocket 3 makes filming approachable, but choosing settings can still feel confusing when you first switch it on. Resolution, frame rate, focus and colour profiles all influence the result, yet changing everything immediately can make learning harder.Start with a simple recording setup and adjust one setting at a time. The recommendations below are practical starting points rather than universal rules. Your lighting, subject and editing plans should guide the final choices. A clear, steady clip with understandable audio is usually more useful than technically ambitious footage that becomes difficult to edit.
Complete Activation and Prepare Your Storage
Charge the camera before your first session, then install DJI Mimo through DJI’s official download channels. DJI identifies Mimo as the app used for activation and firmware updates. Follow the connection prompts and complete any available update before an important shoot. You also need a suitable microSD card. DJI’s manual specifies UHS-I Speed Grade 3 and explains that recorded footage is stored on the card, which is sold separately. After backing up any existing files, format the card in the camera. Record a short test, play it back and confirm that both picture and sound are present.
Choose a Simple Resolution and Frame Rate
For general travel footage and talking videos, my suggested starting point is 4K at 25fps or 30fps. Choose one for your main project and keep ordinary clips consistent. DJI supports both, alongside higher frame rates and lower resolutions.Use 25fps if you intend to edit and export a 25fps project. Choose 30fps when that better matches your existing footage or delivery preferences.Move to 50fps or 60fps when smoother movement or planned slow playback is useful. Higher frame rates are not automatically better for every scene. For long, casual recordings, consider whether 1080p would make storage and editing more manageable.
Start with Normal Colour
Choose Normal colour for your first recordings. This is my recommendation for beginners who want a straightforward editing process.The Pocket 3 also offers D-Log M and HLG. DJI describes D-Log M as intended for colour grading, while HLG is designed for compatible HDR displays.Avoid selecting a specialist profile simply because it sounds more professional. Learn exposure, framing and audio first. Once you can produce consistent clips, try D-Log M on a short practice sequence and complete the edit.Check the finished result on the devices your audience uses. Your recording choice should support the entire workflow, including exporting and sharing.
Keep Exposure Easy Before Going Manual
Begin with automatic exposure. Concentrate on keeping your subject well lit and avoiding compositions dominated by an extremely bright background.If your face appears too dark, change position before adjusting several controls. Turning towards softer light can be more effective than trying to rescue an awkward scene through settings.When you want manual control, DJI explains that Pro mode provides access to shutter speed and ISO adjustments. For practice, try 1/50 second at 25fps as a starting point for conventional motion blur. Check brightness carefully: that combination will not suit every lighting condition. Add manual exposure gradually, once you understand what each adjustment changes.
Set Focus and Tracking for Vlogging
Continuous autofocus is a useful starting choice when you or your subject moves. DJI distinguishes it from Single autofocus, which focuses once, and Product Showcase mode, which prioritises foreground subjects.For a walking vlog, test focus at your normal holding distance before leaving. Keep your face clearly visible and avoid moving the camera unnecessarily close.Tracking controls framing rather than replacing careful composition. DJI’s Face Auto-Detect mode can start tracking a recognised person when recording begins. Basic ActiveTrack can also be triggered by double-tapping a subject onscreen.Leave breathing room around your head and check the frame whenever your surroundings change.
Use Follow Mode for Everyday Travel
Start with Follow mode for ordinary walking clips and selfie videos; DJI identifies it as suitable for these situations. Tilt Locked and FPV provide different movement behaviour for other shooting needs. Practise slow turns and deliberate starts and stops. Stabilisation cannot make every sudden movement look intentional.For travel storytelling, capture a wide establishing view, a medium shot and a close detail. Hold each composition briefly before moving. These simple habits give you more editing options than continuously swinging the camera around to capture everything.
Give Audio and Orientation Equal Attention
Record a brief speech test in the actual location. Listen for wind, clothing noise and competing sounds before filming a long introduction.DJI provides built-in directional audio options and supports compatible external microphones. Its FAQ also explains direct linking with DJI Mic 2 and Mic Mini transmitters. Choose landscape for a horizontal project and portrait for vertical delivery. DJI lists native 3K recording in a 9:16 format, so check orientation and resolution together. Before travelling, confirm battery, storage, focus, framing and sound. Keep the camera protected between locations: DJI states that the Pocket 3 is not waterproof. Start simple, review your clips and let actual results guide your next adjustment.